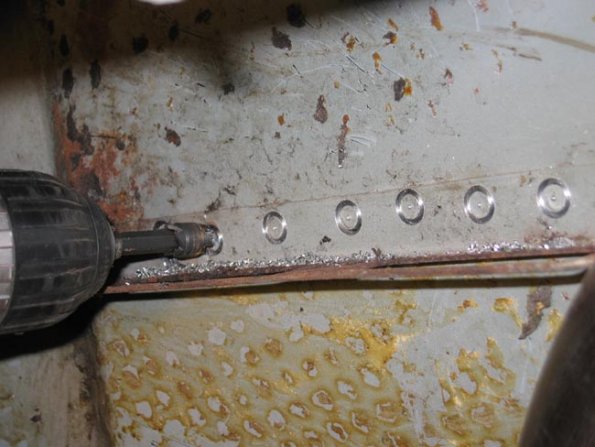
Did you drill out the spot welds to remove all of the little brackets from the tub?
very purty.
Shell Preppin '74 EMS
-
SaabsBreakDown

- Posts: 331
- Joined: Mon Oct 30, 2006 11:01 pm
- Number of Saabs currently owned: 4
- Location: Gig Harbor, WA
- Contact:
GRMPer wrote:Did you drill out the spot welds to remove all of the little brackets from the tub?
very purty.
Yep, you should try to pickup the bucket of all the misc tabs, brackets and mounts that I removed!
Last edited by Luke on Wed Apr 02, 2008 9:31 am, edited 1 time in total.
-
GRMPer
- Posts: 739
- Joined: Tue Mar 20, 2007 10:56 am
- Number of Saabs currently owned: 0
- Location: Ormond Beach, FL
I'm actually not finding a lot of straight spot welds..this car has got a lot more "welding by an actual human" than I would have expected.
I decided to stop waffling around and stripped the interior last night to get at the brake lines. It isn't going back in, so next step, find a dewar for the liquid nitrogen to clean off the pans.
I decided to stop waffling around and stripped the interior last night to get at the brake lines. It isn't going back in, so next step, find a dewar for the liquid nitrogen to clean off the pans.
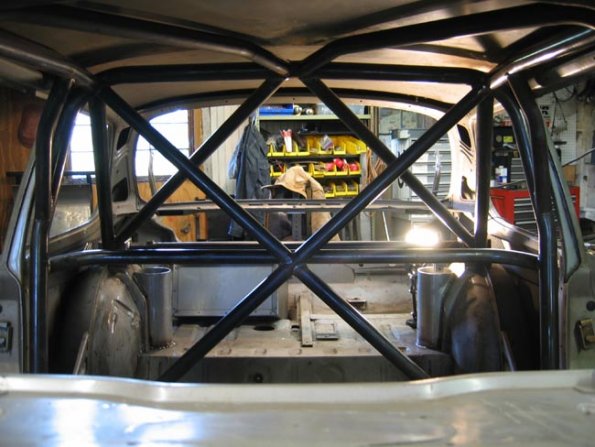
Managed to get a little work on the cage done this long weekend.
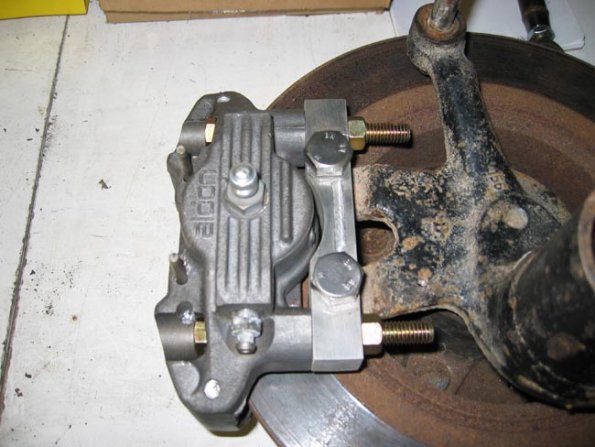
Built some custom adapters for some radial mount rear Alcon calipers I picked up a while ago. Same 35mm piston size as the Volvo brakes but easier to adapt and about 1/3 the weight.
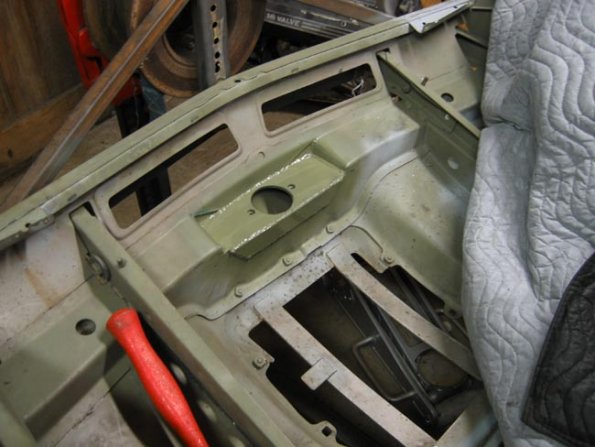
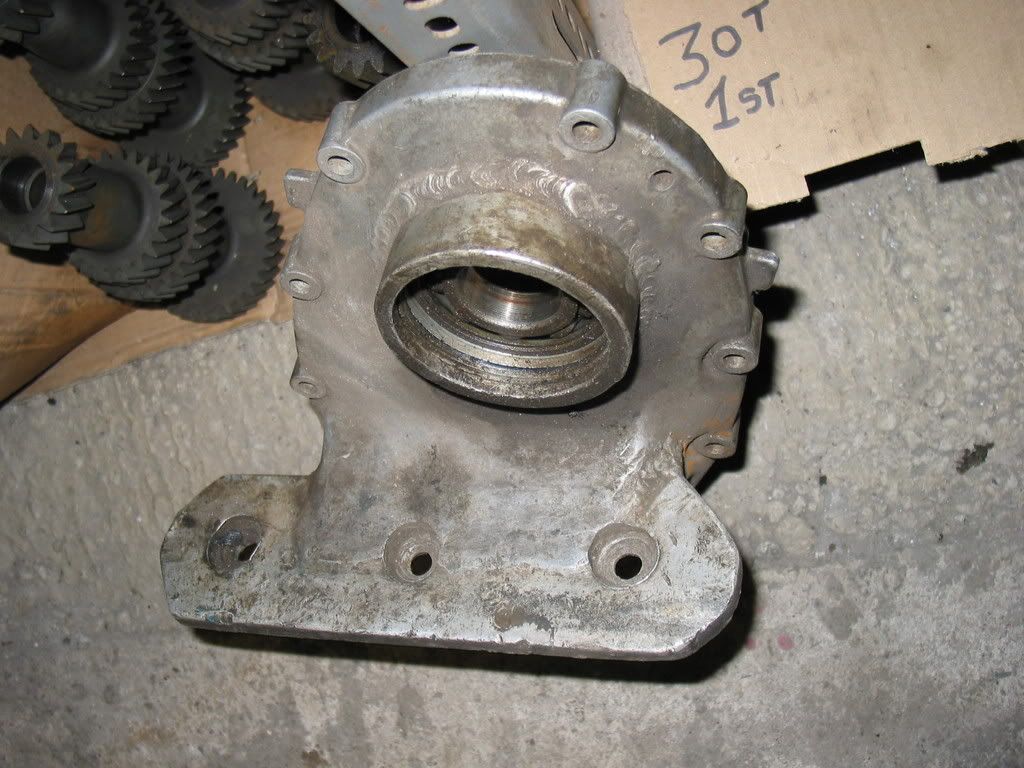
Also double plated the front motor mount area and got it ready for a "tripled" front cover.
Built some custom adapters for some radial mount rear Alcon calipers I picked up a while ago. Same 35mm piston size as the Volvo brakes but easier to adapt and about 1/3 the weight.
Also double plated the front motor mount area and got it ready for a "tripled" front cover.
Last edited by Luke on Wed Apr 02, 2008 9:32 am, edited 1 time in total.

A few more updates:
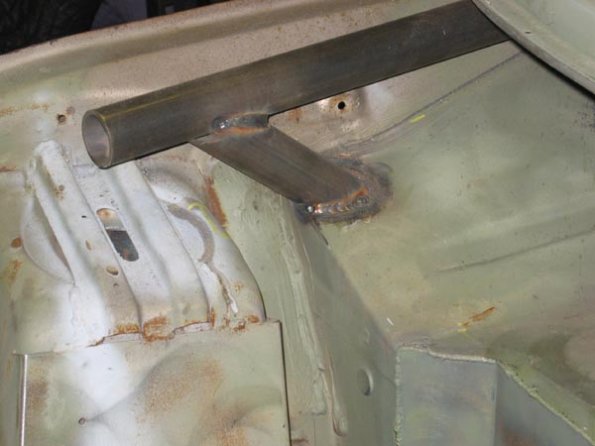
Finished the foward cage extensions. They are "let into" the front fender wells both for strength and clearance.

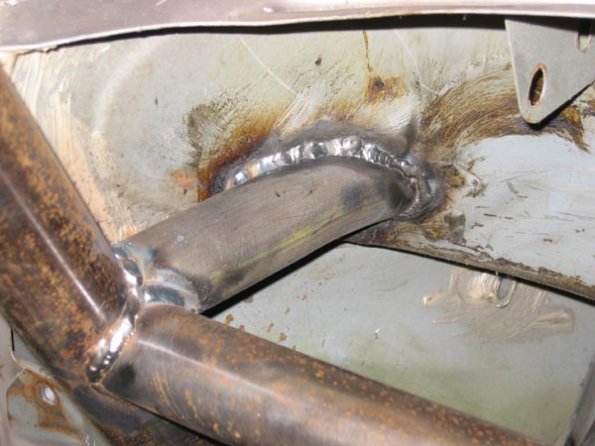
also fully welded where they pass through the fire wall:
The shock towers are not built yet but the tubes meet right where the connection to the towers will be.. they are just left long for the time being.
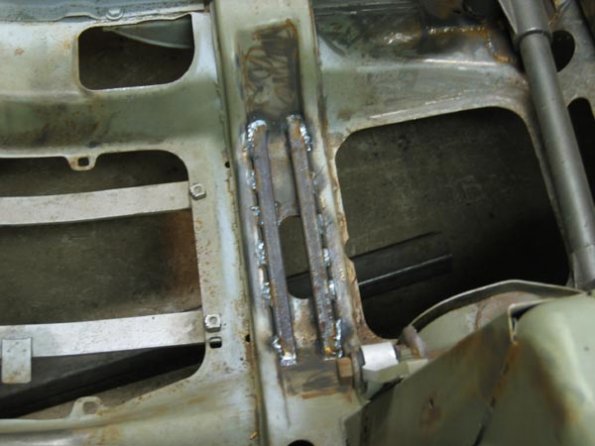
Some extra reinforcement was added to the front cross member:
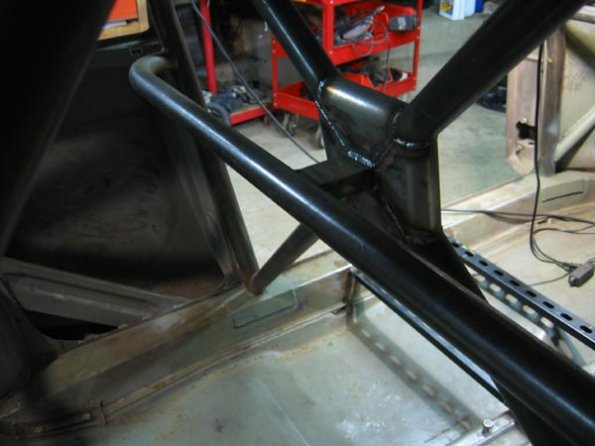
The taco gussets were fabbed and the welded to the main X junction as well as a little connector tab to strengthen the harness bar.
Finally I picked up a nice stack of used but great shape 2wd sized michelin rally tires from Burt Arano at union 7 who is moving his shop from PA to colorado soon.

Finished the foward cage extensions. They are "let into" the front fender wells both for strength and clearance.
also fully welded where they pass through the fire wall:
The shock towers are not built yet but the tubes meet right where the connection to the towers will be.. they are just left long for the time being.
Some extra reinforcement was added to the front cross member:
The taco gussets were fabbed and the welded to the main X junction as well as a little connector tab to strengthen the harness bar.
Finally I picked up a nice stack of used but great shape 2wd sized michelin rally tires from Burt Arano at union 7 who is moving his shop from PA to colorado soon.
Last edited by Luke on Wed Apr 02, 2008 9:33 am, edited 1 time in total.


Return to “Projects and Build Threads”
Who is online
Users browsing this forum: No registered users and 2 guests